Most of the code for this course will be written in Jupyter Notebooks. Follow these steps to get set up with Jupyter Notebook and the materials in this course.
- Get Free PyCharm. (don't worry it's not a virus, it's my own copy of pycharm from like 2017 but it works.)
- Download this jupyter file.
- Select your student folder and put the file there.
- Open your student folder in File Explorer.
- Press Shift and Right-click to open a menu.
- Select Open command prompt window here to open a command prompt window.
- Type jupyter-notebook to open a Jupyter Notebook server.
- Jupyter Notebook will open in a browser window.
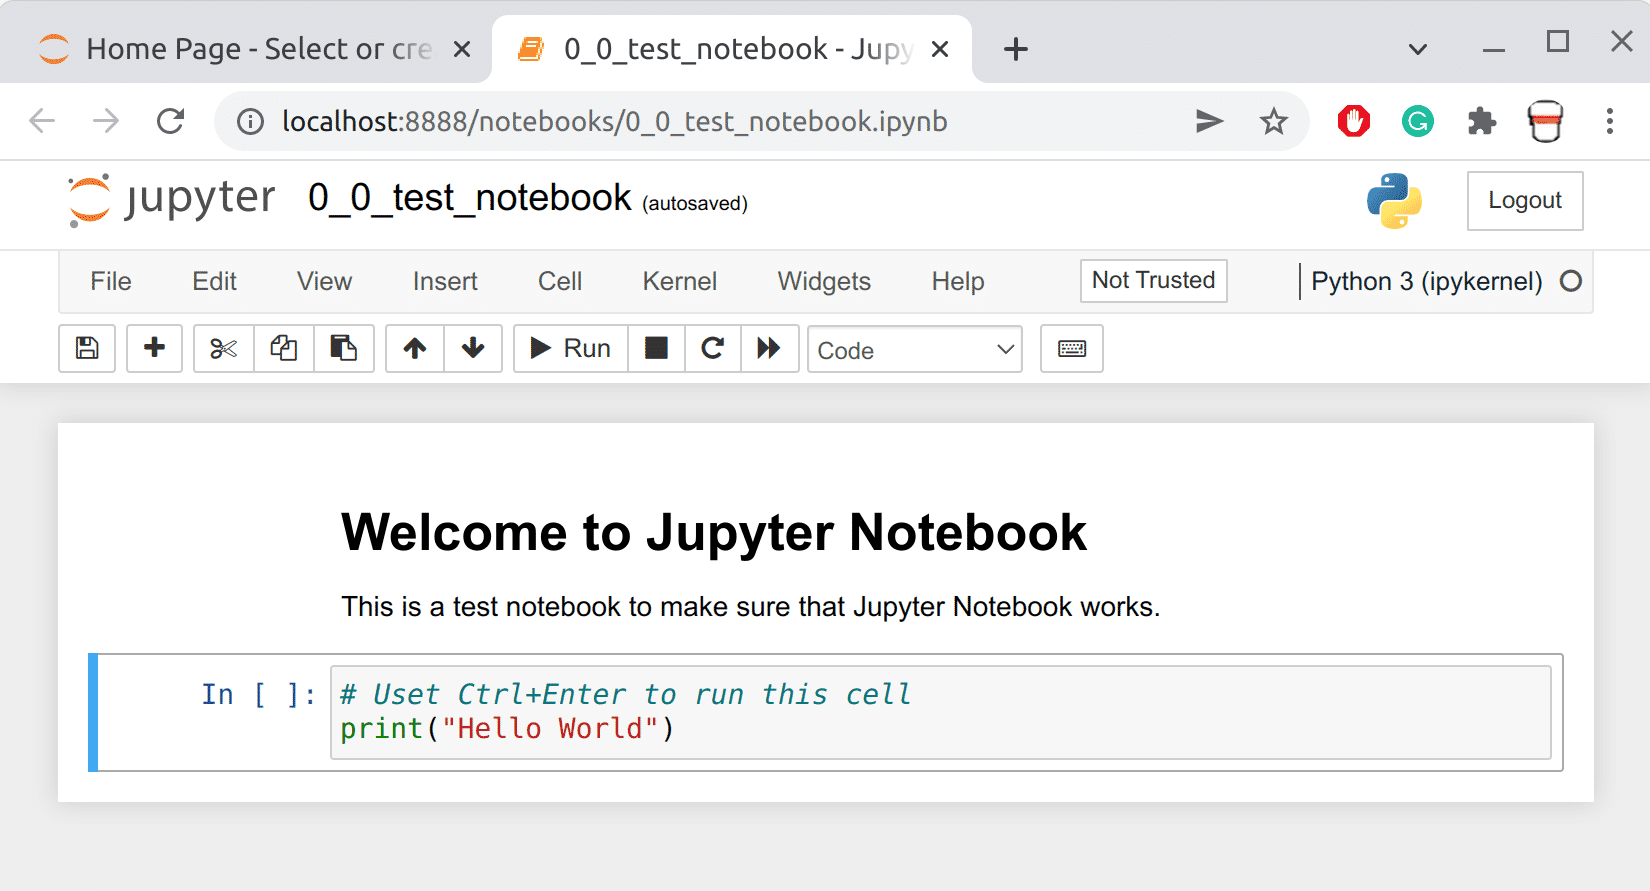
- Open the test notebook by double-clicking on it. It will open in a new tab.
- Click through the graphic below to get familiar with the different parts of Jupyter Notebook.
- Run the cell to see the output.